Atlas v1.2: Column-Level Lineage, Registry Backup Storage, Schema Ownership Policy, and More
· 7 min read

Hey everyone!
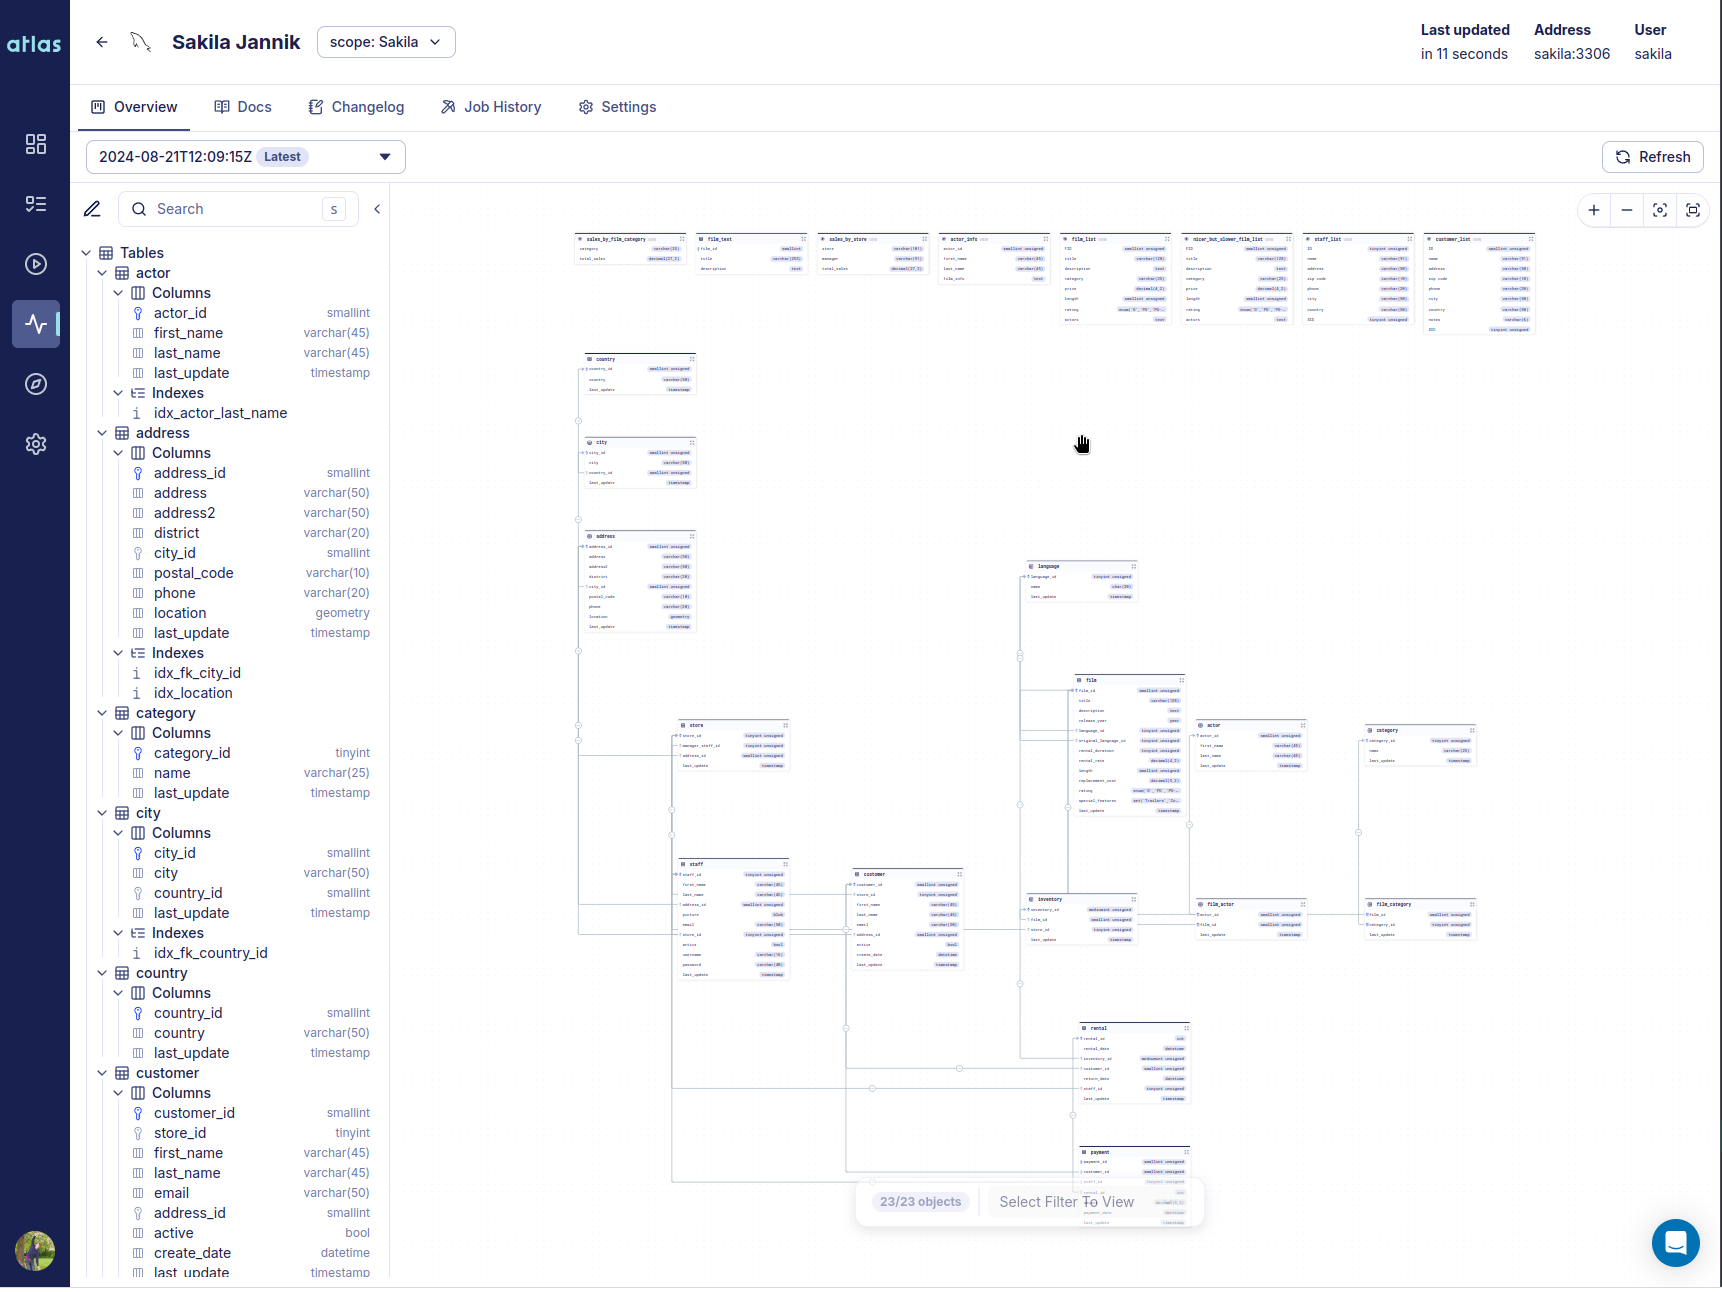
We're excited to announce Atlas v1.2. This release brings column-level data lineage to Atlas Cloud, registry backups to your own cloud storage, a schema ownership policy for CI, and expanded database coverage.
Here is what you can find in this release:
- Column-Level Data Lineage - Trace how columns are derived from upstream sources across tables, views, and datasets in Atlas Cloud.
- Offline Access & Registry Backups - Back up Atlas Registry repositories to S3, GCS, or Azure Blob Storage. Atlas Pro license grants are cached in CI/CD environments, so your pipeline never has a single point of failure.
- Schema Ownership Policy - Enforce which GitHub users and teams can modify specific schema objects, closing the gap between CODEOWNERS and DDL access control.
- Database Driver Improvements - PostgreSQL routine permissions, user-mapping, and default ACLs; Snowflake tasks and pipes; Oracle UDTs; Expanded permissions for MSSQL, MySQL, and ClickHouse.