Announcing v0.14.0: Checkpoints, Push to Cloud and JetBrains Editor Support
Hi everyone!
It's been a few weeks since our last version announcement and today I'm happy to share with you
v0.14, which includes some
very exciting improvements for Atlas:
- Checkpoints - as your migration directory grows, replaying it from scratch can become annoyingly slow. Checkpoints allow you to save the state of your database at a specific point in time and replay migrations from that point forward.
- Push to the Cloud - you can now push your migration directory to Atlas Cloud
directly from the CLI. Think of it like
docker pushfor your database migrations. - JetBrains Editor Support - After launching our VSCode Extension a few months ago, our team has been hard at work to bring the same experience to JetBrains IDEs. Starting today, you can use Atlas directly from your favorite JetBrains IDEs (IntelliJ, PyCharm, GoLand, etc.) using the new Atlas plugin.
Let's dive right in!
Checkpoints
Suppose your project has been going on for a while, and you have a migration directory with 100 migrations. Whenever you need to install your application from scratch (such as during development or testing), you need to replay all migrations from start to finish to set up your database. Depending on your setup, this may take a few seconds or more. If you have a checkpoint, you can replay only the migrations that were added since the latest checkpoint, which can be much faster.
Here's a short example. Let's say we have a migration directory with 2 migration files, managing a
SQLite database. The first one creates a table named t1:
create table t1 ( c1 int );
And the second adds a table named t2 and adds a column named c2 to t1:
create table t2 ( c1 int, c2 int );

alter table t1 add column c2 int;
To create a checkpoint, we can run the following command:
atlas migrate checkpoint --dev-url "sqlite://file?mode=memory&_fk=1"
This will create a SQL file, which is our checkpoint:
-- atlas:checkpoint

-- Create "t1" table
CREATE TABLE `t1` (`c1` int NULL, `c2` int NULL);
-- Create "t2" table
CREATE TABLE `t2` (`c1` int NULL, `c2` int NULL);
Notice two things:
- The
atlas:checkpointdirective which indicates that this file is a checkpoint. - The SQL statement to create the
t1table included both thec1andc2columns and does not contain thealter tablestatement. This is because the checkpoint includes the state of the database at the time it was created, which can be thought of as the sum of all migrations that were applied up to that point.
Next, let's apply these migrations on a local SQLite database:
atlas migrate apply --url sqlite://local.db
Atlas prints:
Migrating to version 20230830123813 (1 migrations in total):

  -- migrating version 20230830123813
    -> CREATE TABLE `t1` (`c1` int NULL, `c2` int NULL);
    -> CREATE TABLE `t2` (`c1` int NULL, `c2` int NULL);
  -- ok (960.465µs)

  -------------------------
  -- 6.895124ms
  -- 1 migrations
  -- 2 sql statements
As expected, Atlas skipped all of the migrations up to the checkpoint and only applied the last one!
Push to Cloud
As we demonstrated above, once we have a migration directory, we can apply it to a database. If your database is running locally this is easy enough, but building deployment pipelines to production databases is more involved. There are multiple ways to accomplish this, such as building custom Docker images, as shown in most methods covered in the guides section.
In this release, we simplified the process of pushing migration directories to
Atlas Cloud by adding a new atlas migrate push command.
You can think of it as docker push for your database migrations.

Migration Directory created with atlas migrate push
Continuing with our example from above, let's push our migration directory to Atlas Cloud.
To start, you'll need to log in to Atlas. If it's your first time, you'll be prompted to create both an account and a workspace.
- Via Web
- Via Token
atlas login
atlas login --token "ATLAS_TOKEN"
After logging in, let's name our new migration project pushdemo and run:
atlas migrate push pushdemo --dev-url "sqlite://file?mode=memory&_fk=1"
After our migration directory is pushed, Atlas prints a URL to the created directory, similar to the one shown in the image above.
Once your migration directory is pushed, you can use it to apply migrations to your database directly from
the cloud, just as you would execute docker run to run a container image that is stored in a Docker container registry.
To apply a migration directory directly from the cloud, run:
atlas migrate apply --dir atlas://pushdemo --url sqlite://local.db
Notice two flags that we used here:
--dir- specifies the URL of the migration directory. We usedatlas://pushdemoto indicate that we want to use the migration directory namedpushdemothat we pushed earlier. This directory is accessible to us because we usedatlas loginin a previous step.--url- specifies the URL of the database we want to apply the migrations to. In this case, we used the same SQLite database that we used earlier.
JetBrains Editor Support
JetBrains makes some of the most popular IDEs for software developers, including IntelliJ, PyCharm, GoLand, and more. We are happy to announce that following our recent release of the VSCode Extension, we now have a plugin for JetBrains IDEs as well!
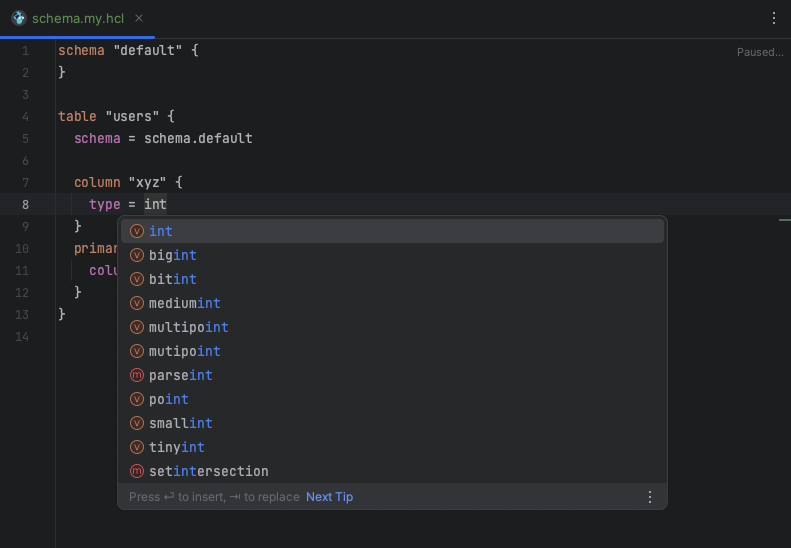
The plugin is built to make editing Atlas HCL files much easier by providing developers with
syntax highlighting, code completion, and warnings. It supports both atlas.hcl project configuration
files as well as schema definition files (.my.hcl, .pg.hcl, and .lt.hcl).
The plugin is available for download from the JetBrains Marketplace.
-
To install the plugin, open your IDE and go to
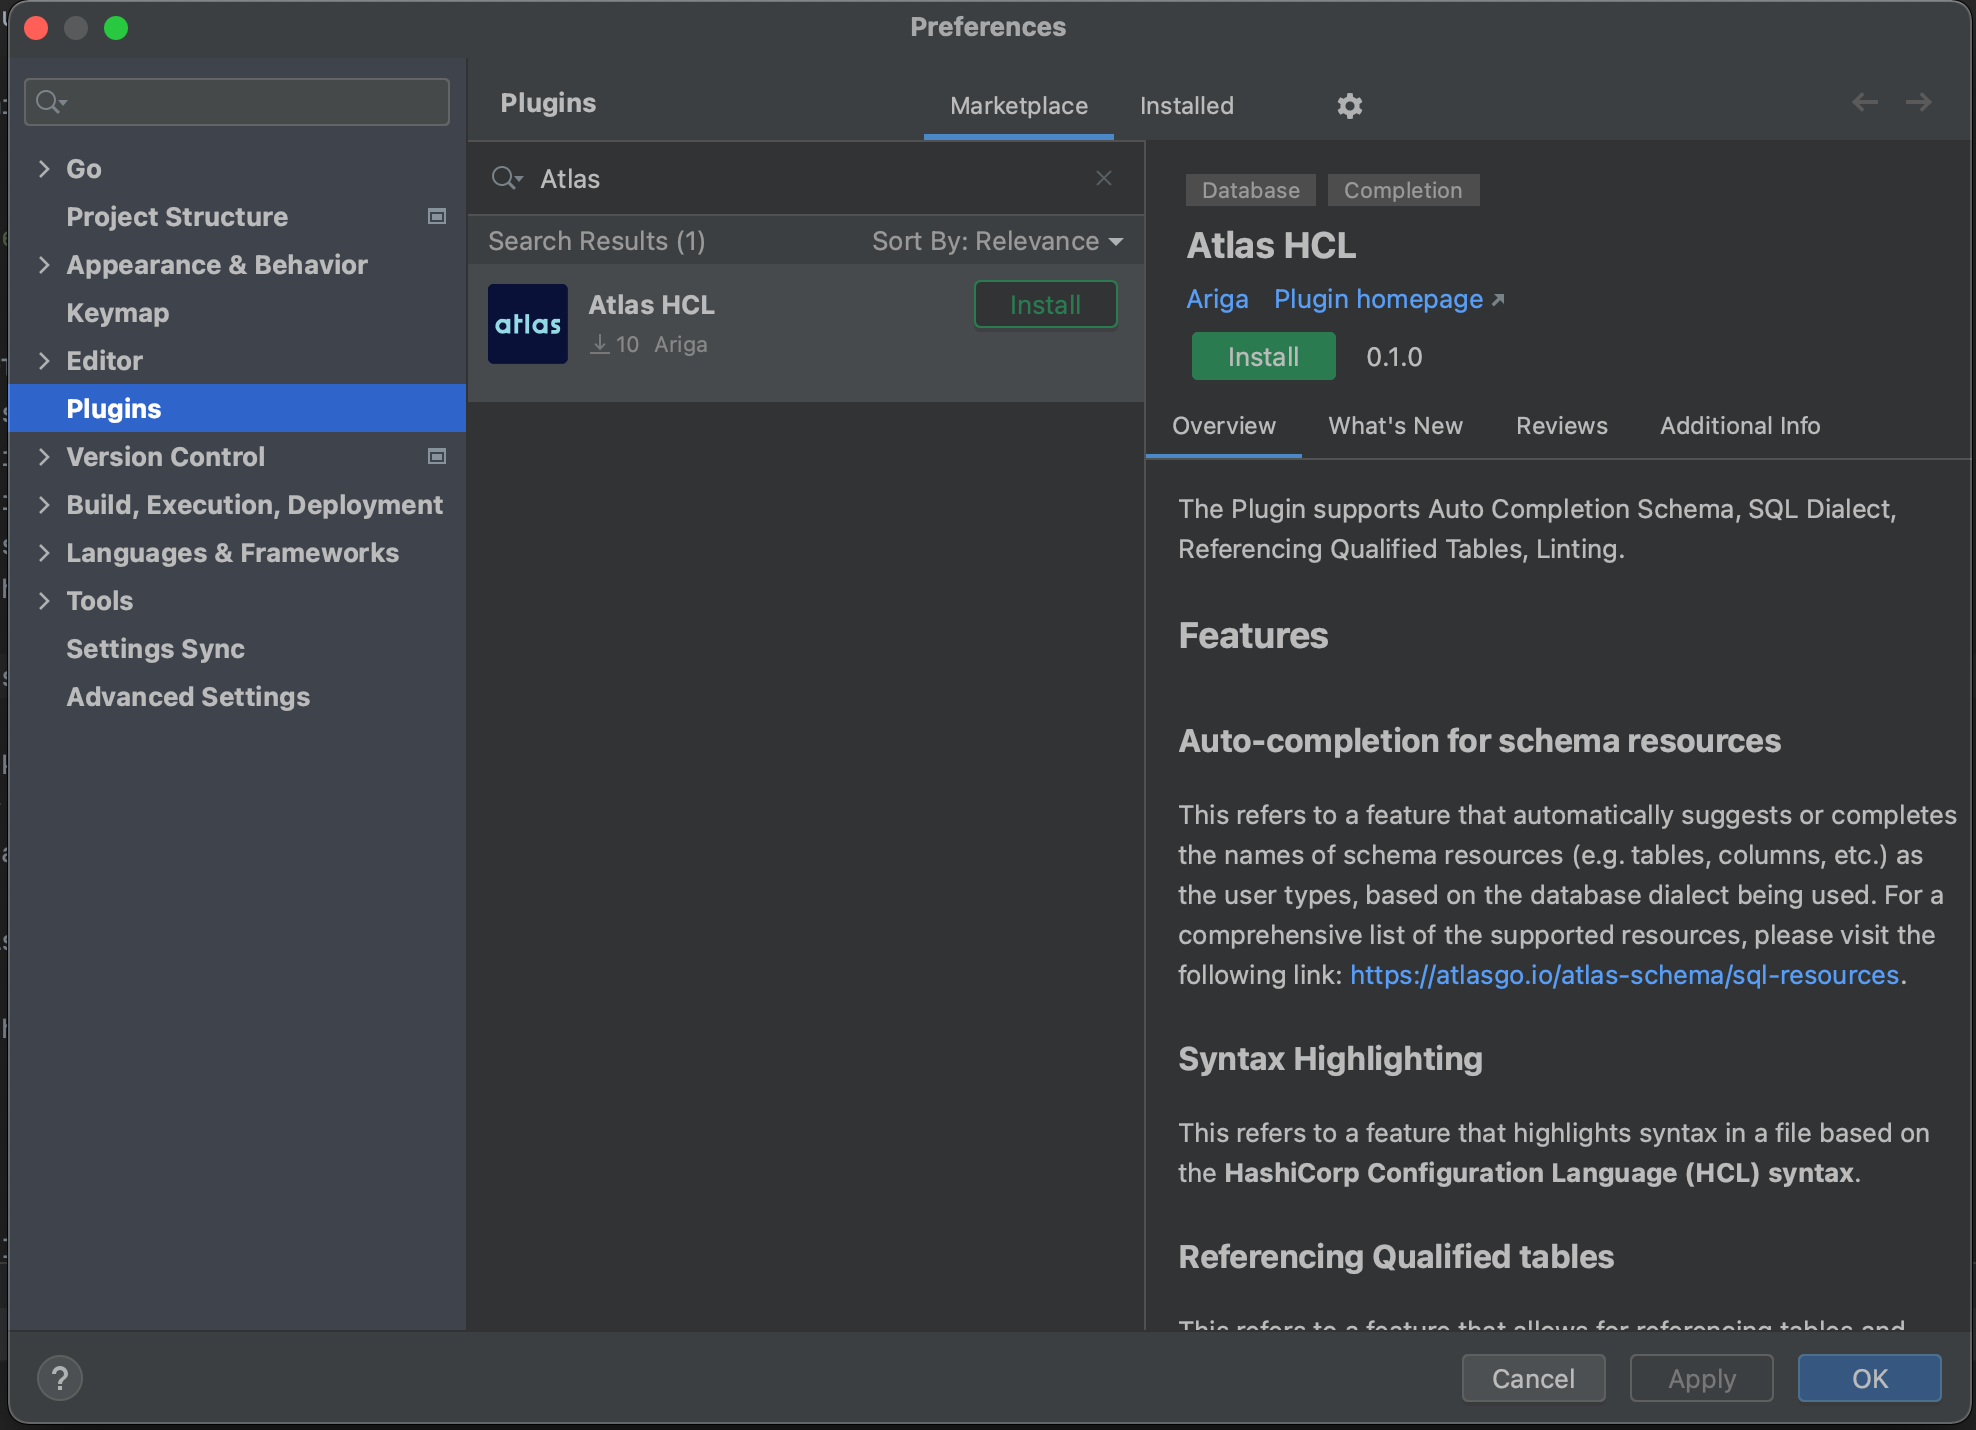
Preferences > Plugins > Marketplaceand search forAtlas:
-
Click on the
Installbutton to install the plugin. -
Create a new file named
schema.my.hcl(the.my.hclsuffix signifies to the plugin that this file is a MySQL schema (you can use.pg.hclfor Postgres or.lt.hclfor SQLite) -
Edit away!

Wrapping up
That's it! I hope you try out (and enjoy) all of these new features and find them useful. As always, we would love to hear your feedback and suggestions on our Discord server.