Set Up CI for Your Database with Atlas
As your application evolves, so does your database schema. If you're not careful with schema changes (migrations), you can end up introducing all sorts of issues that are painful and expensive to fix.
To mitigate the risk of deploying dangerous changes to database schemas, many teams apply CI/CD practices to their database. This means that every change to the database schema is automatically reviewed and tested before it is deployed to production.
In this guide, we'll show you how to set up CI for your database using Atlas Cloud and GitHub Actions.
A similar workflow is supported on other CI platforms as well. To learn more, see the Azure DevOps with GitHub, Azure DevOps with Azure Repos, GitLab CI, CircleCI, and Bitbucket Pipes guides.
Prerequisites
- A GitHub repository containing an Atlas migration directory. If you don't have one handy
and would like to experiment with this workflow, you can use the
ariga/atlas-templatetemplate repo to create one for you. - An Atlas Cloud account. If you don't have one, you can sign up for free in
auth.atlasgo.cloud, or by running
atlas loginin your terminal:
$ atlas login
You are now connected to "a8m" on Atlas Cloud.
-
Push your migration directory to Atlas Cloud. This is used by the CI process to detect which migration files are new and if linear history is maintained:
- PostgreSQL
- MySQL
- MariaDB
- SQLite
- SQL Server
- ClickHouse
- Redshift
- Snowflake
atlas migrate push app \
  --dev-url "docker://postgres/15/dev?search_path=public"
atlas migrate push app \
--dev-url "docker://mysql/8/dev"atlas migrate push app \
--dev-url "docker://mariadb/latest/dev"atlas migrate push app \
--dev-url "sqlite://dev?mode=memory"atlas migrate push app \
--dev-url "docker://sqlserver/2022-latest"atlas migrate push app \
--dev-url "docker://clickhouse/23.11"atlas migrate push app \
--dev-url "redshift://user:pass@redshift-cluster:5439/dev"atlas migrate push app \
--dev-url "snowflake://user:pass@account_identifier/dev"
GitHub Action Workflow
Step 1: Create a Bot Token for Atlas Cloud
In order to report the results of your CI runs to Atlas Cloud, you will need to create a bot token for Atlas Cloud to use. Follow these instructions to create a token and save it somewhere safe.
Step 2: Install the Atlas GitHub CLI Extension
To streamline the process of configuring the GitHub Action, we've created a GitHub CLI extension that will do most of the work for you:
-
Make sure you have the GitHub CLI installed.
brew install ghSee here for more installation options.
-
Install the Atlas GitHub CLI extension:
gh extension install ariga/gh-atlas
Step 3: Configure the GitHub Action
- Permissions - Make sure you have the necessary permissions to configure your action:
gh auth refresh -s write:packages,workflow
- Go to your repository root - Make sure your current working directory is the root of your repository.
cd path/to/my/repo
- Run the extension - Run the
init-cicommand to configure the GitHub Action:
gh atlas init-action --token <your-bot-token> --dir-name="app"
Atlas will scan your repository (locally) for directories containing Atlas migrations and ask you which one you would like to use for CI. Select the desired directory and press "Enter":
Use the arrow keys to navigate: ↓ ↑ → ←
? choose migration directory:
  ▸ migrations
Atlas will then ask you which database driver this directory contains migrations for. Select the desired driver and press "Enter":
Use the arrow keys to navigate: ↓ ↑ → ←
? choose driver:
  ▸ mysql
    postgres
    mariadb
    sqlite
Next, the GitHub extension will save your bot token to a GitHub secret and create a pull request with the necessary configuration for the GitHub Action.
Screenshot Example
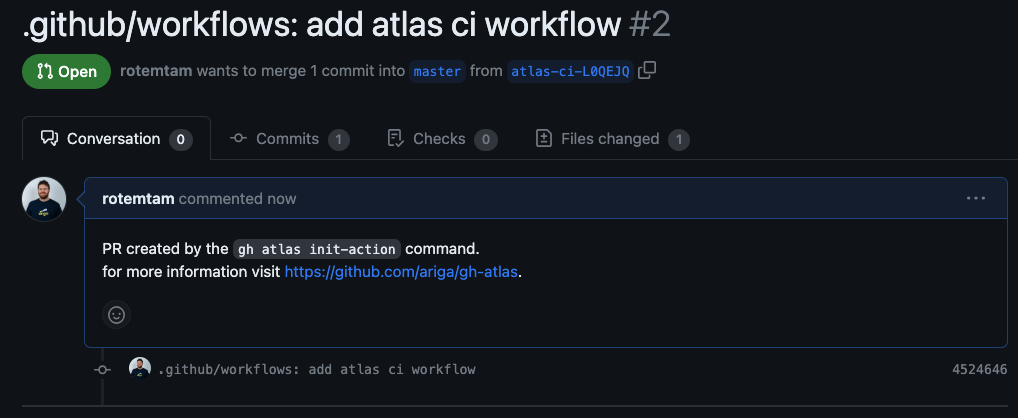
The PR contains a GitHub Actions workflow similar to this:
Code Example
name: Atlas
on:
  push:
    branches:
      - master
    paths:
      - .github/workflows/ci-atlas.yaml
      - 'migrations/*'
  pull_request:
    paths:
      - 'migrations/*'
# Permissions to write comments on the pull request.
permissions:
  contents: read
  pull-requests: write
jobs:
  atlas:
    services:
      # Spin up a mysql:8 container to be used as the dev-database for analysis.
      mysql:
        image: mysql:8
        env:
          MYSQL_DATABASE: dev
          MYSQL_ROOT_PASSWORD: pass
        ports:
          - 3306:3306
        options: >-
          --health-cmd "mysqladmin ping -ppass"
          --health-interval 10s
          --health-start-period 10s
          --health-timeout 5s
          --health-retries 10
    runs-on: ubuntu-latest
    steps:
      - uses: actions/checkout@v3
        with:
          fetch-depth: 0
      - uses: ariga/setup-atlas@v0
        with:
          cloud-token: ${{ secrets.ATLAS_CLOUD_TOKEN_L0QEJQ }}
      - uses: ariga/atlas-action/migrate/lint@v1
        with:
          dir: 'file://migrations'
          dir-name: 'gh-ext-demo'
          dev-url: 'mysql://root:pass@localhost:3306/dev'
        env:
          GITHUB_TOKEN: ${{ github.token }}
      - uses: ariga/atlas-action/migrate/push@v1
        if: github.ref == 'refs/heads/master'
        with:
            dir: 'file://migrations'
            dir-name: 'gh-ext-demo'
            dev-url: 'mysql://root:pass@localhost:3306/dev'
After reviewing the changes, merge the pull request to enable the GitHub Action.
Step 4: Test the Action
After merging the pull request, the GitHub Action will run atlas migrate lint on every pull request
and sync the migrations to Atlas Cloud on every push to master.
- To test this setup, create a new branch for making some changes to your database schema:
git checkout -b test-ci
- Create a new migration in interactive mode:
atlas migrate new --edit dummy
- Type some broken SQL into the migration file and save it:
CREATE users (
  col varchar(255)
);
(Notice that we're missing the TABLE keyword in the CREATE TABLE statement.)
- Commit the changes and push them to GitHub:
git add migrations
git commit -m "migrations: add dummy migration"
git push origin test-ci
Our changes are pushed to GitHub:
remote: Resolving deltas: 100% (3/3), done.
remote:
remote: Create a pull request for 'test-ci' on GitHub by visiting:
remote:      https://github.com/rotemtam/gh-init-demo/pull/new/test-ci
remote:
To github.com:rotemtam/gh-init-demo.git
 * [new branch]      test-ci -> test-ci
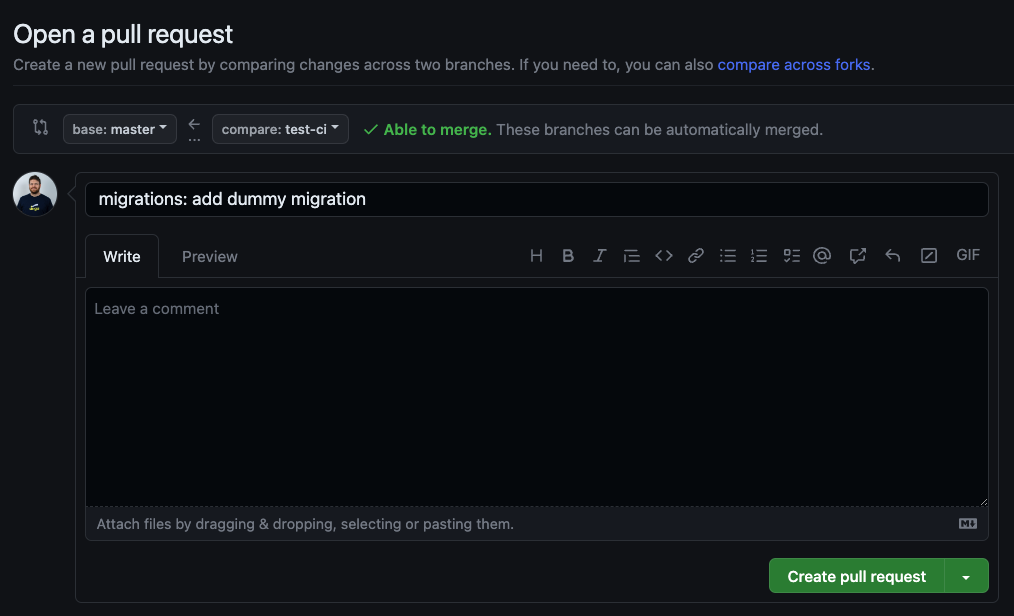
- Open a pull request for the
test-cibranch and wait for the GitHub Action to run.
Screenshot Example
- Notice that after a few moments, a comment appears on the pull request with the results of the linting run:
Screenshot Example
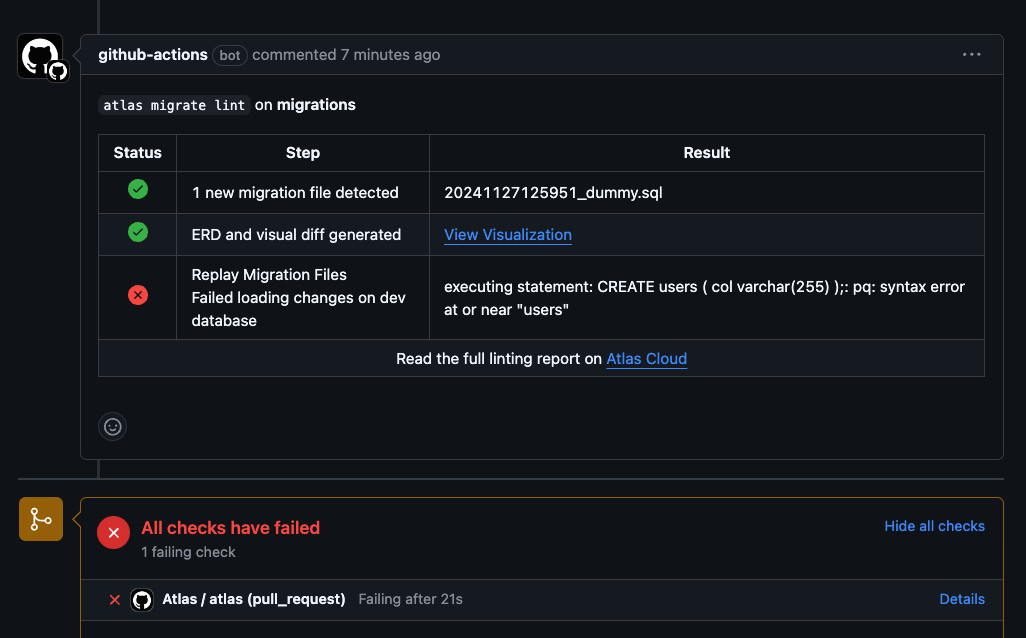
The linting run failed because of the syntax error we introduced in the migration file.
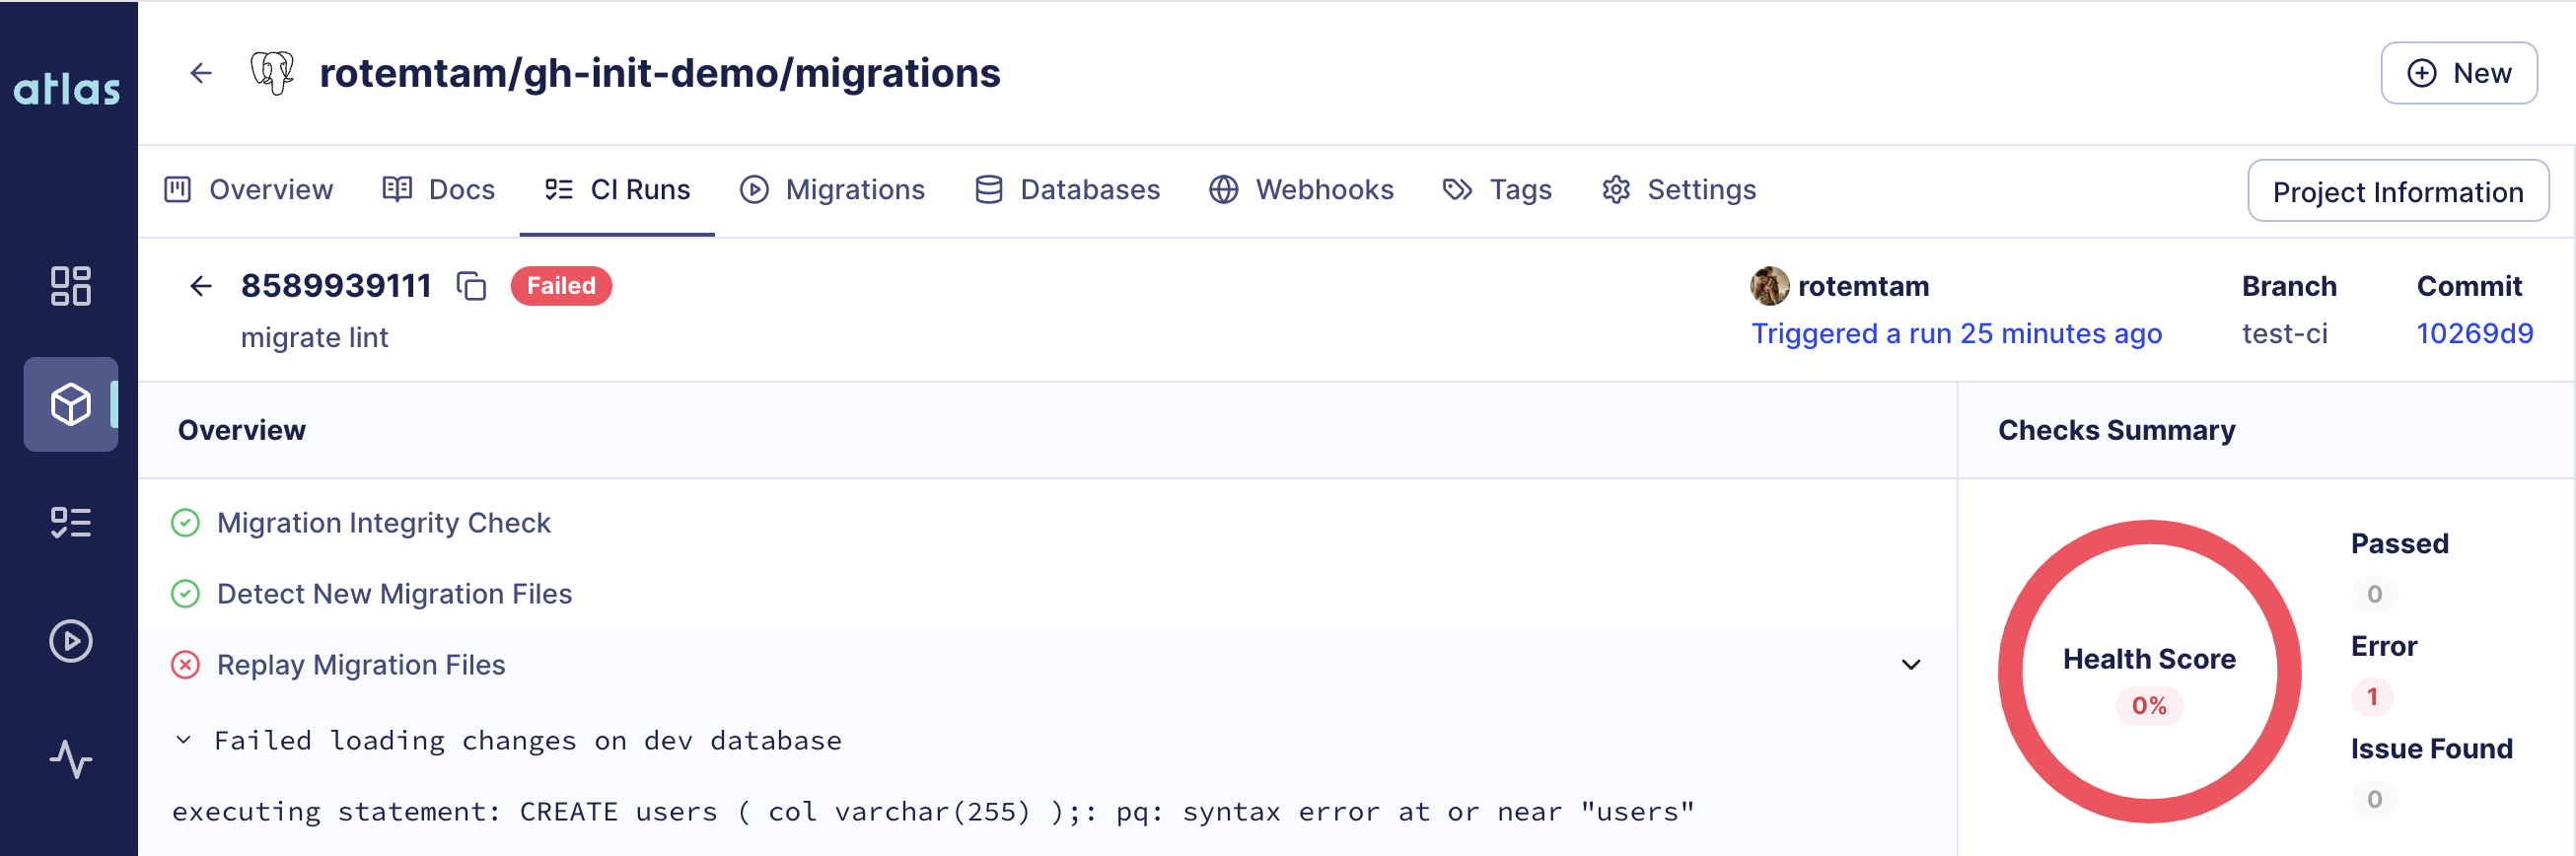
- Click on "Full Report" to see the full report on Atlas Cloud:
Screenshot Example
Summary
In this guide, we've shown how to configure Atlas Cloud to apply continuous integration for our database schema changes. With this setup, whenever a developer proposes a change to the database schema, Atlas Cloud will verify the safety of the change using various checks and report back the results.