Connect Migration Directories
The following guide explains how to connect a migration directory to Atlas Cloud. Once connected, Atlas provides a list of features enabling users to seamlessly audit their migration history, run continuous migration linting on their PRs, monitor executed migrations and receive webhook notifications, among other capabilities.
To get started, you need to sync your migration directory to the Schema Registry in Atlas Cloud.
Login to Atlas Cloud
Firstly, you'll need to log in to Atlas. If it's your first time, you'll be prompted to create both an account and a workspace (organization):
atlas login
Push the migration directory
After logging in, we can push the migration directory to Atlas Cloud to persist its state. This allows it to be read by Atlas CLI later on in our CI/CD pipelines or by other developers on our team.
- PostgreSQL
- MySQL
- MariaDB
- SQLite
- SQL Server
- ClickHouse
- Redshift
- Snowflake
atlas migrate push app \
  --dev-url "docker://postgres/15/dev?search_path=public"
atlas migrate push app \
  --dev-url "docker://mysql/8/dev"
atlas migrate push app \
  --dev-url "docker://mariadb/latest/dev"
atlas migrate push app \
  --dev-url "sqlite://dev?mode=memory"
atlas migrate push app \
  --dev-url "docker://sqlserver/2022-latest"
atlas migrate push app \
  --dev-url "docker://clickhouse/23.11"
atlas migrate push app \
  --dev-url "redshift://user:pass@redshift-cluster:5439/dev"
atlas migrate push app \
  --dev-url "snowflake://user:pass@account_identifier/dev"
For the purpose of this example, we have named our migration directory app, but you can choose a
different name containing only alphanumeric characters, dashes, and underscores.
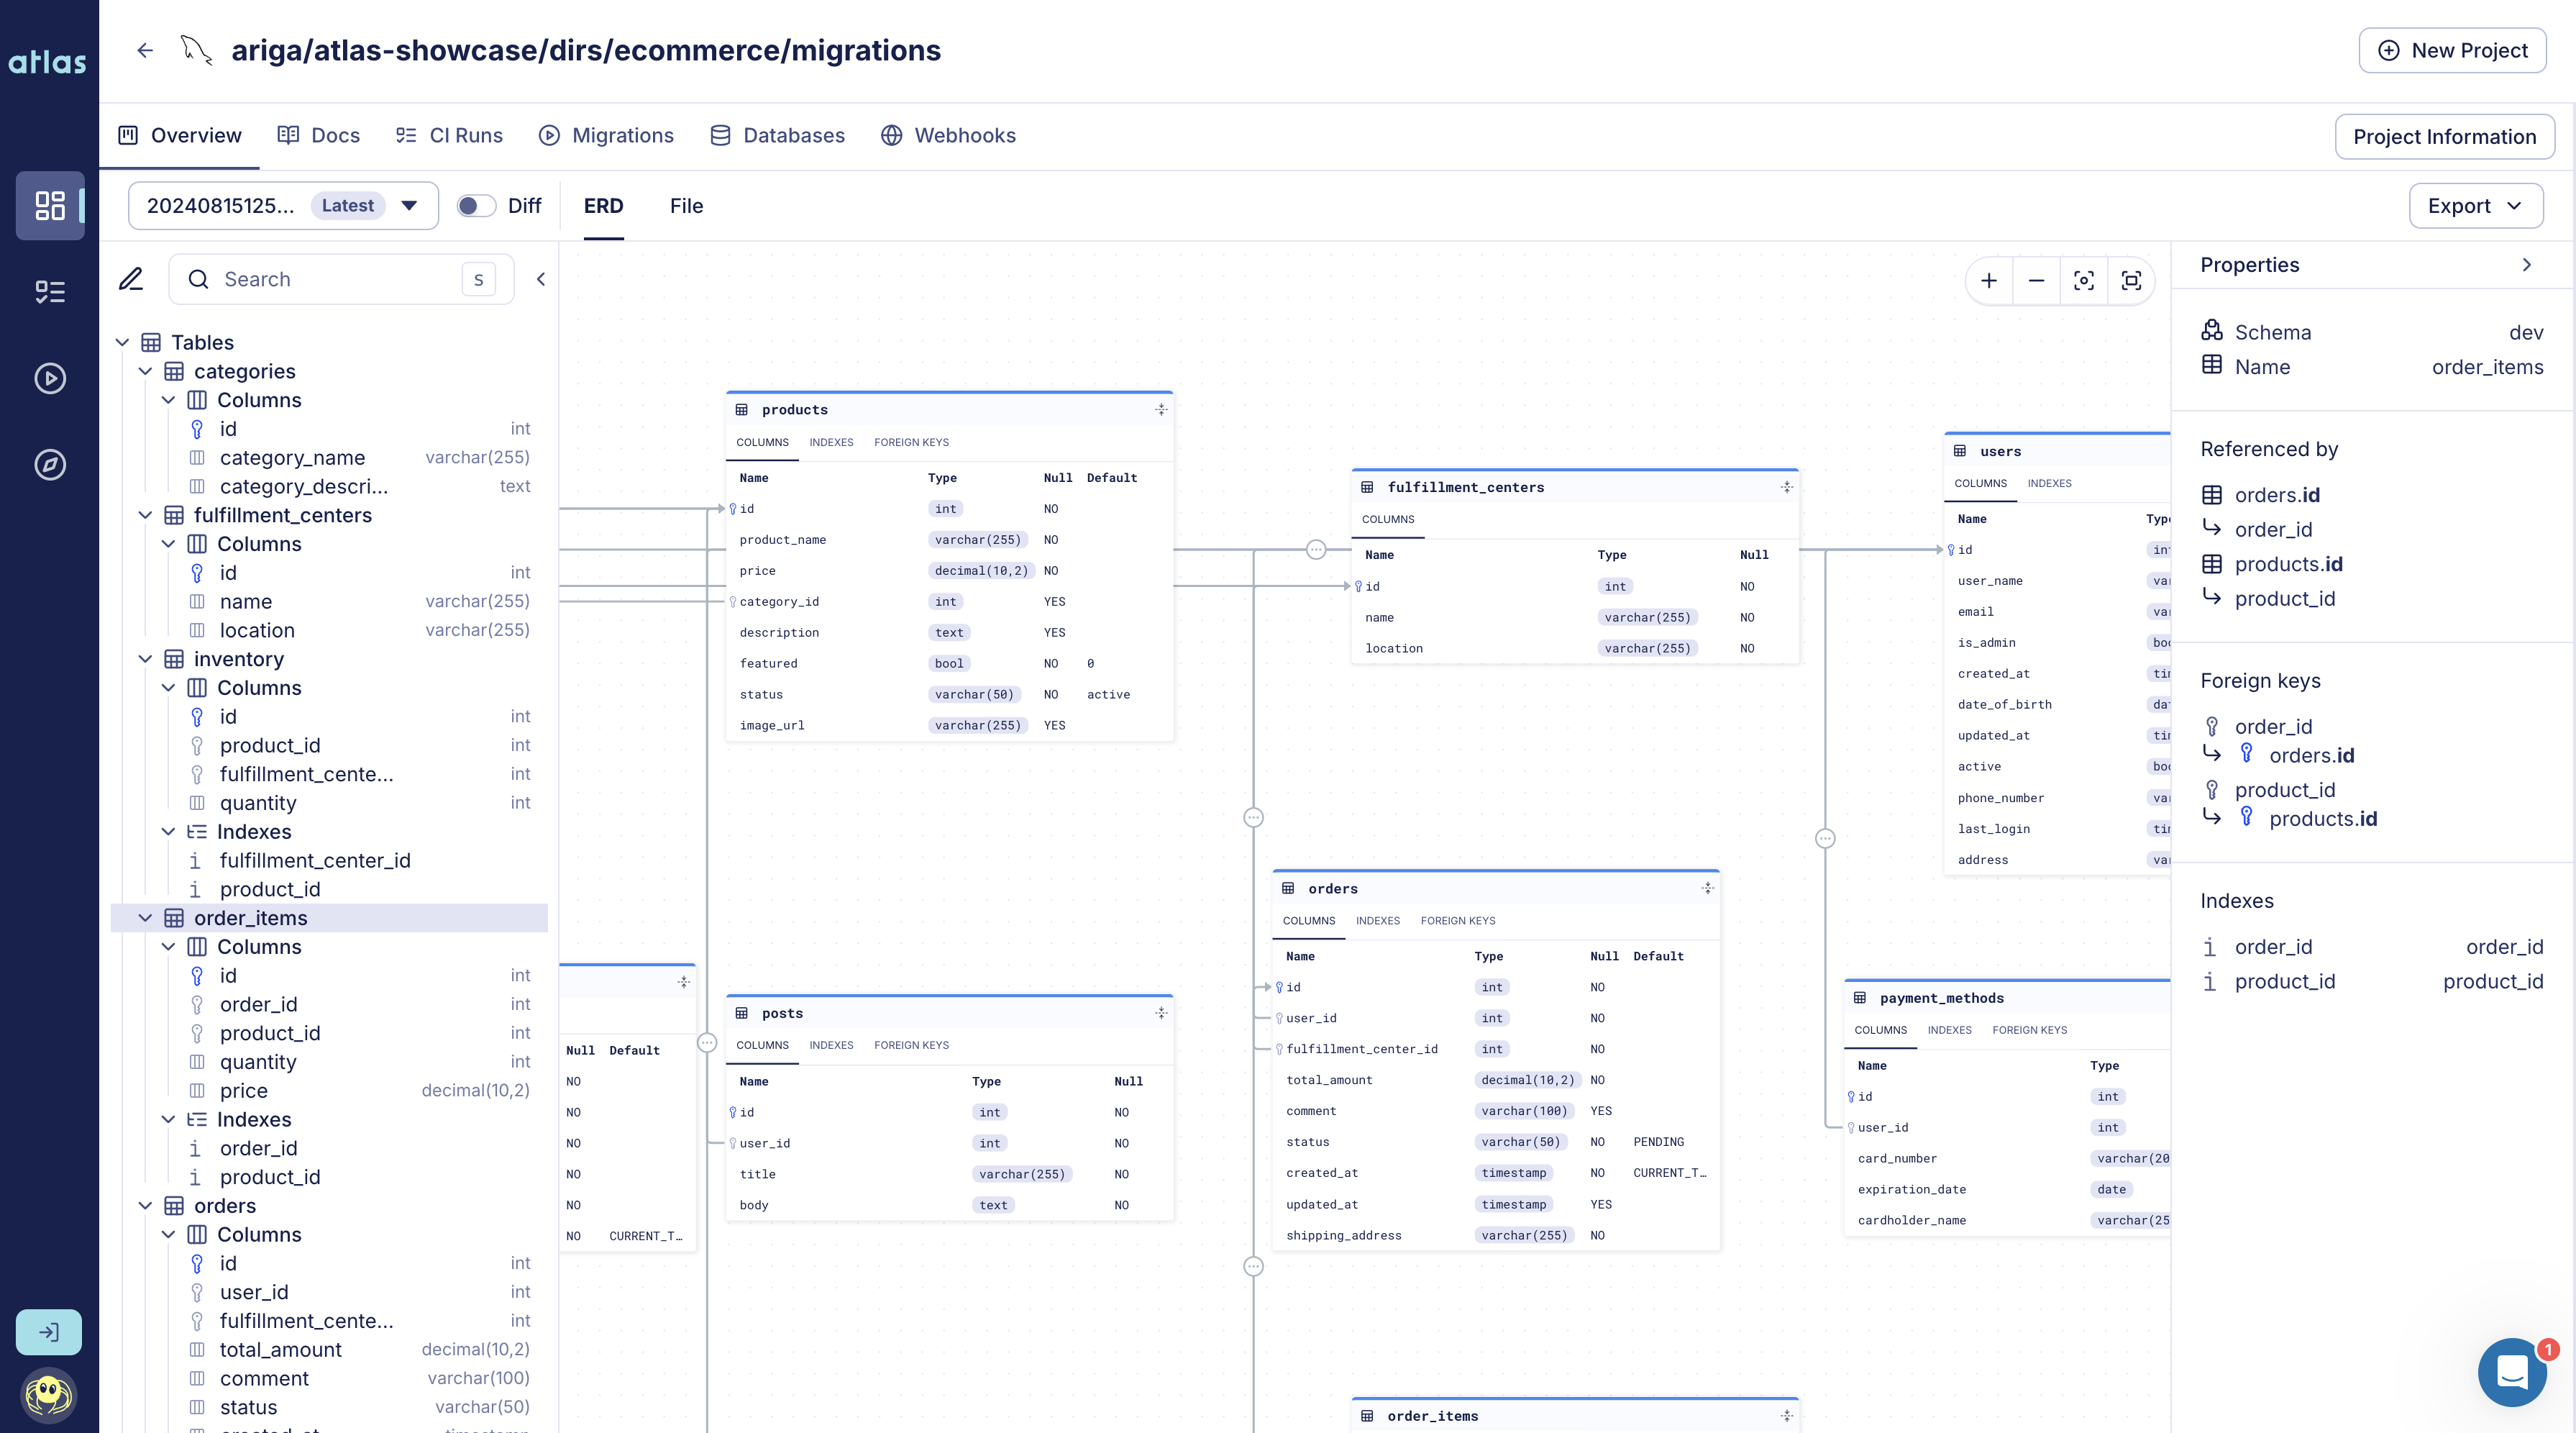
Migration Directory created with atlas migrate push
Optional: Backup repositories Atlas Pro
You can configure backup repositories for your migration directory in atlas.hcl.
When set, Atlas replicates atlas migrate push to these backup URLs in addition to Atlas Cloud.
env "prod" {
  migration {
    dir = "atlas://app"
    repo {
      name = "app"
      backup = [
        "s3://my-bucket/atlas-backup?region=us-east-1",
        "file:///var/lib/atlas/backup",
      ]
    }
  }
}
Atlas tries backup URLs in order when reading an atlas:// directory and falls back to them automatically if connectivity to Atlas Cloud is interrupted.
If Atlas Cloud push fails but at least one backup succeeds, the command still succeeds and the backup status is available in JSON output.
For detailed backup provider URL configuration and authentication options, see Backup Provider URLs in the Registry documentation.
Setup CI
After setting up your migration directory, the next step is to add Atlas to your CI pipeline. This ensures that the migration files are checked and reviewed before being merged into the main branch. Below are the supported CI platforms Atlas currently supports:
- GitHub Actions
- Azure DevOps with GitHub
- Azure DevOps with Azure Repos
- CircleCI
- GitLab CI
- Bitbucket Pipes
- Using other CI platforms? Let us know!
Setup CD
Atlas Cloud streamlines deploying migrations by providing a single place to manage migrations for all your services. After connecting your migration directory to Atlas Cloud, it is automatically synced to a central location on every commit to your main branch. Once this setup (which takes less than one minute) is complete, you can deploy migrations from Atlas Cloud to any environment with a single command (or using popular CD tools such as Kubernetes and Terraform).
For more information, visit the Introduction to schema migrations deployments in the guides section.
Slack Integration
You can use Slack Webhooks to receive updates in your Slack channel about schema changes, CI runs and deployment statuses of your migration directory. Make sure you have a Slack incoming webhook configured (you can create one here).
Select your migration directory, go to Webhooks tab.
Screenshot example
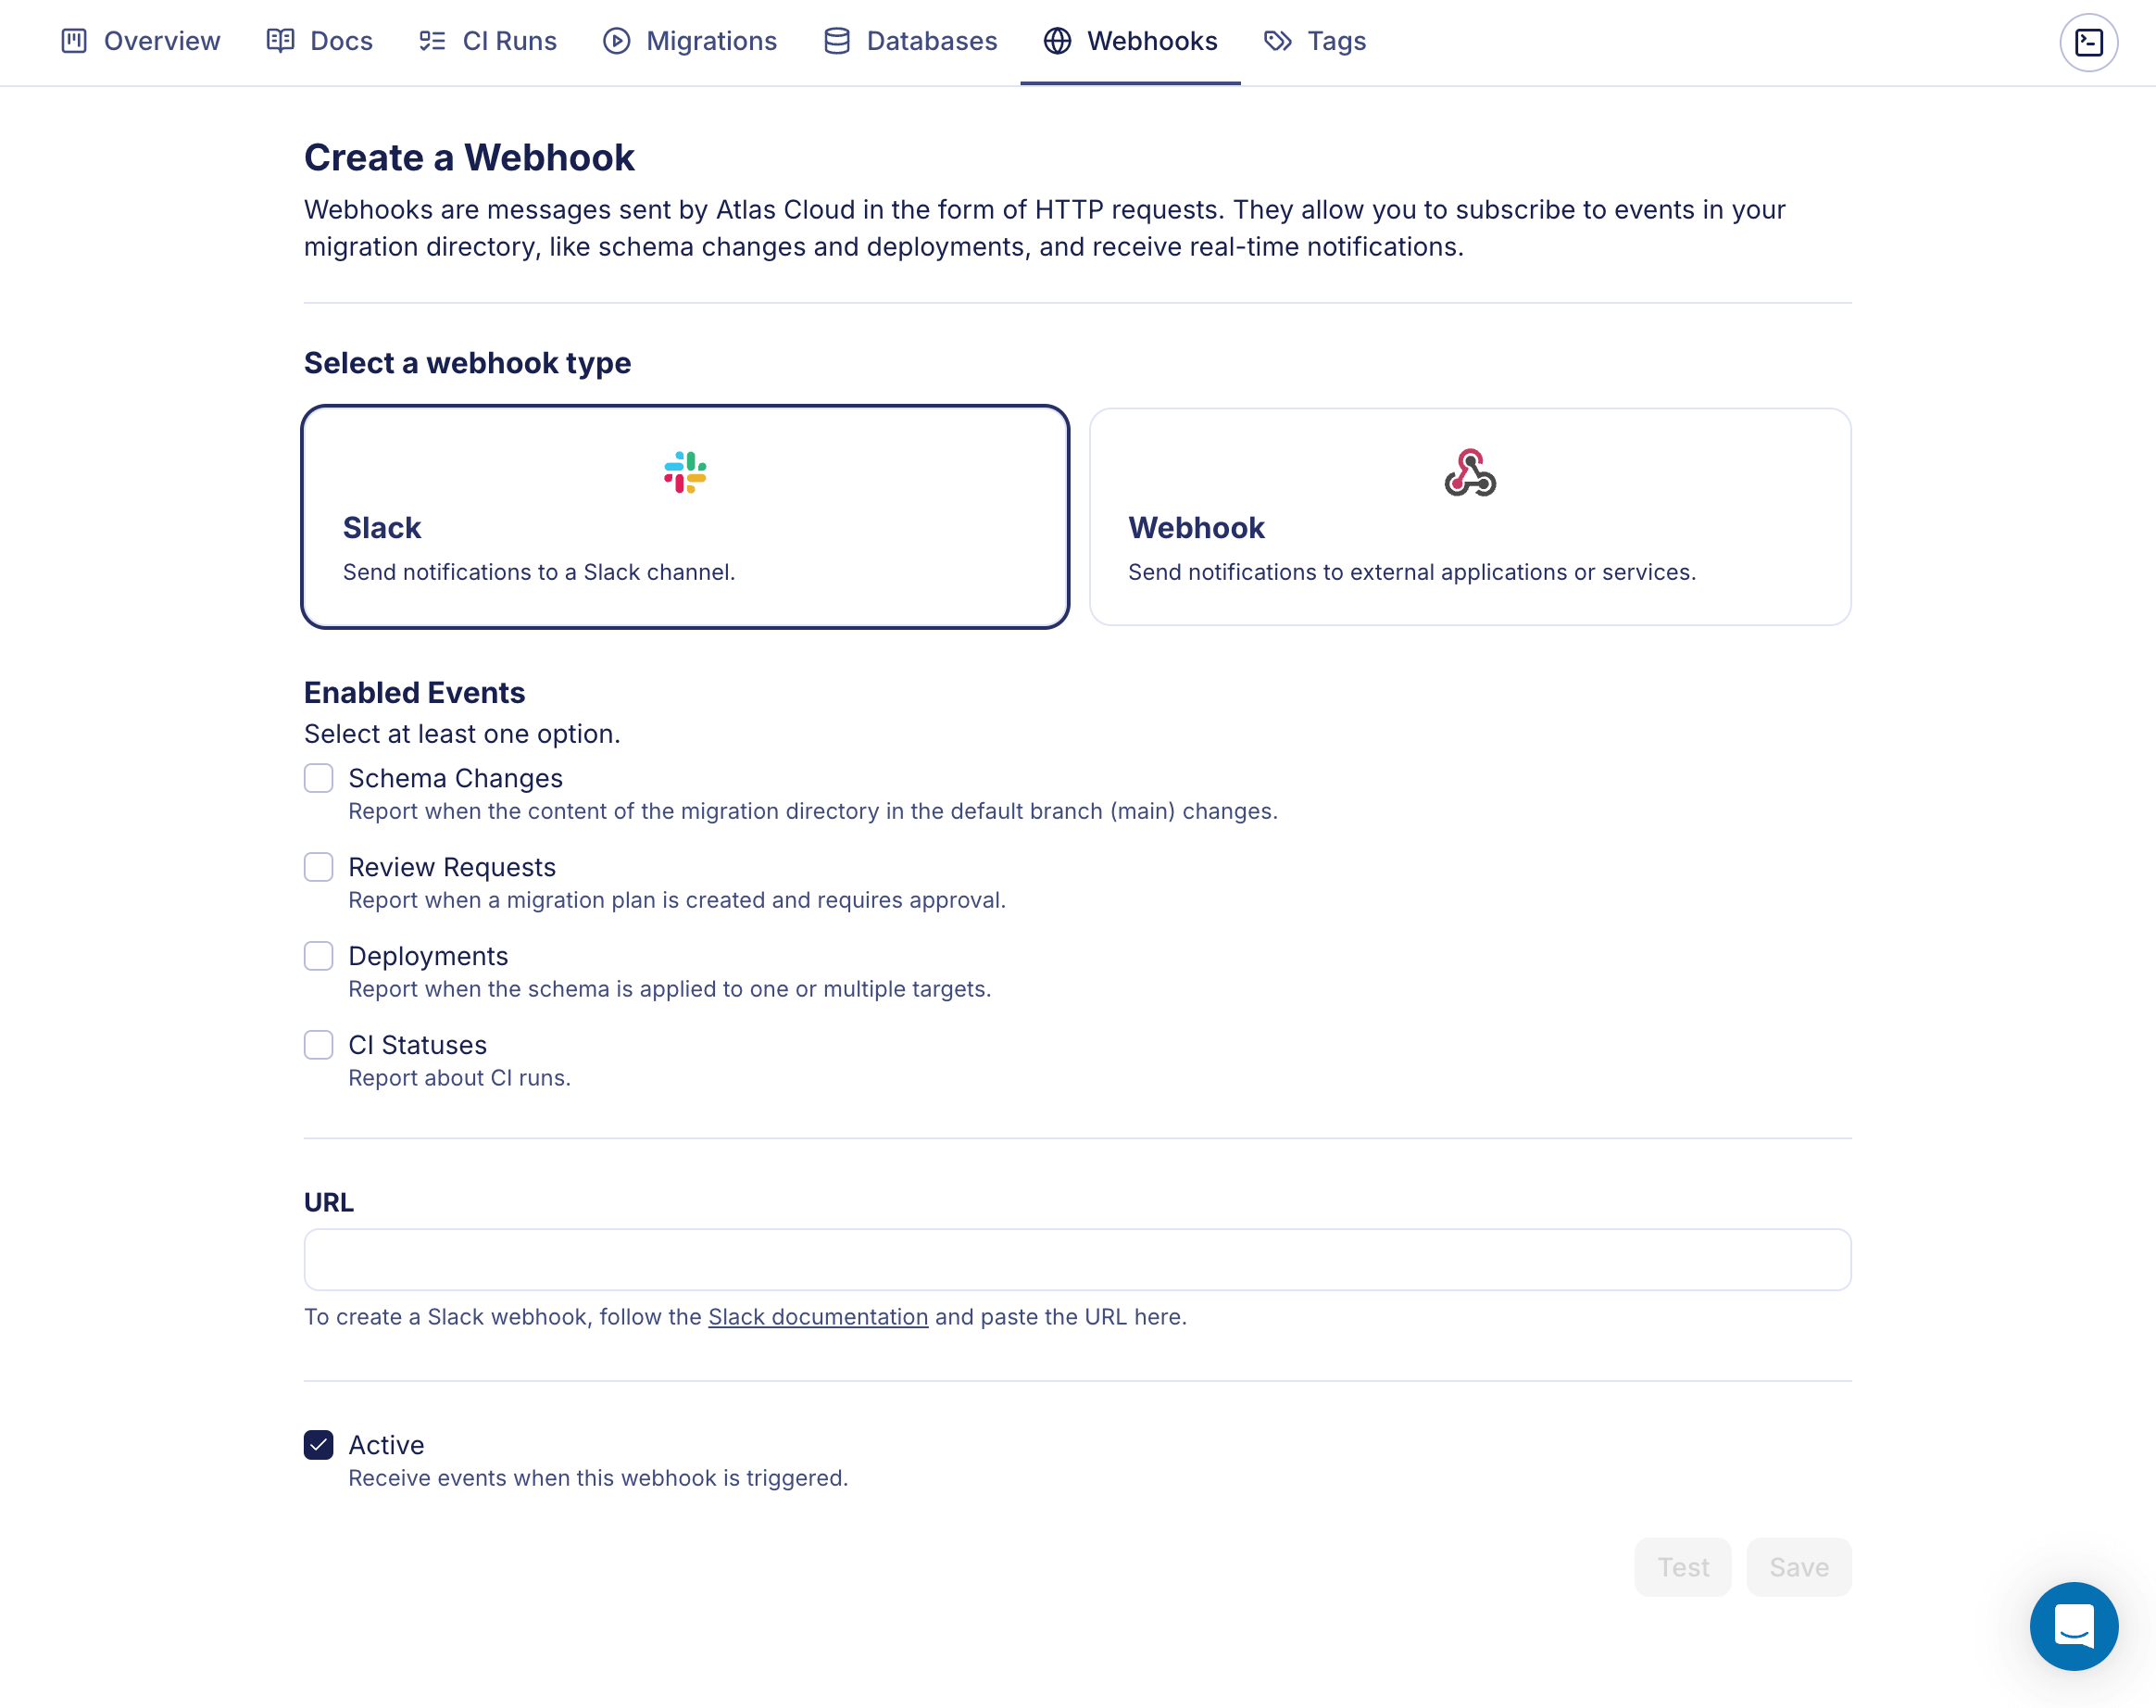
Select the Slack integration, choose the events you want to be notified about and insert your webhook URL. Click on Save to confirm or Test to test the webhook.
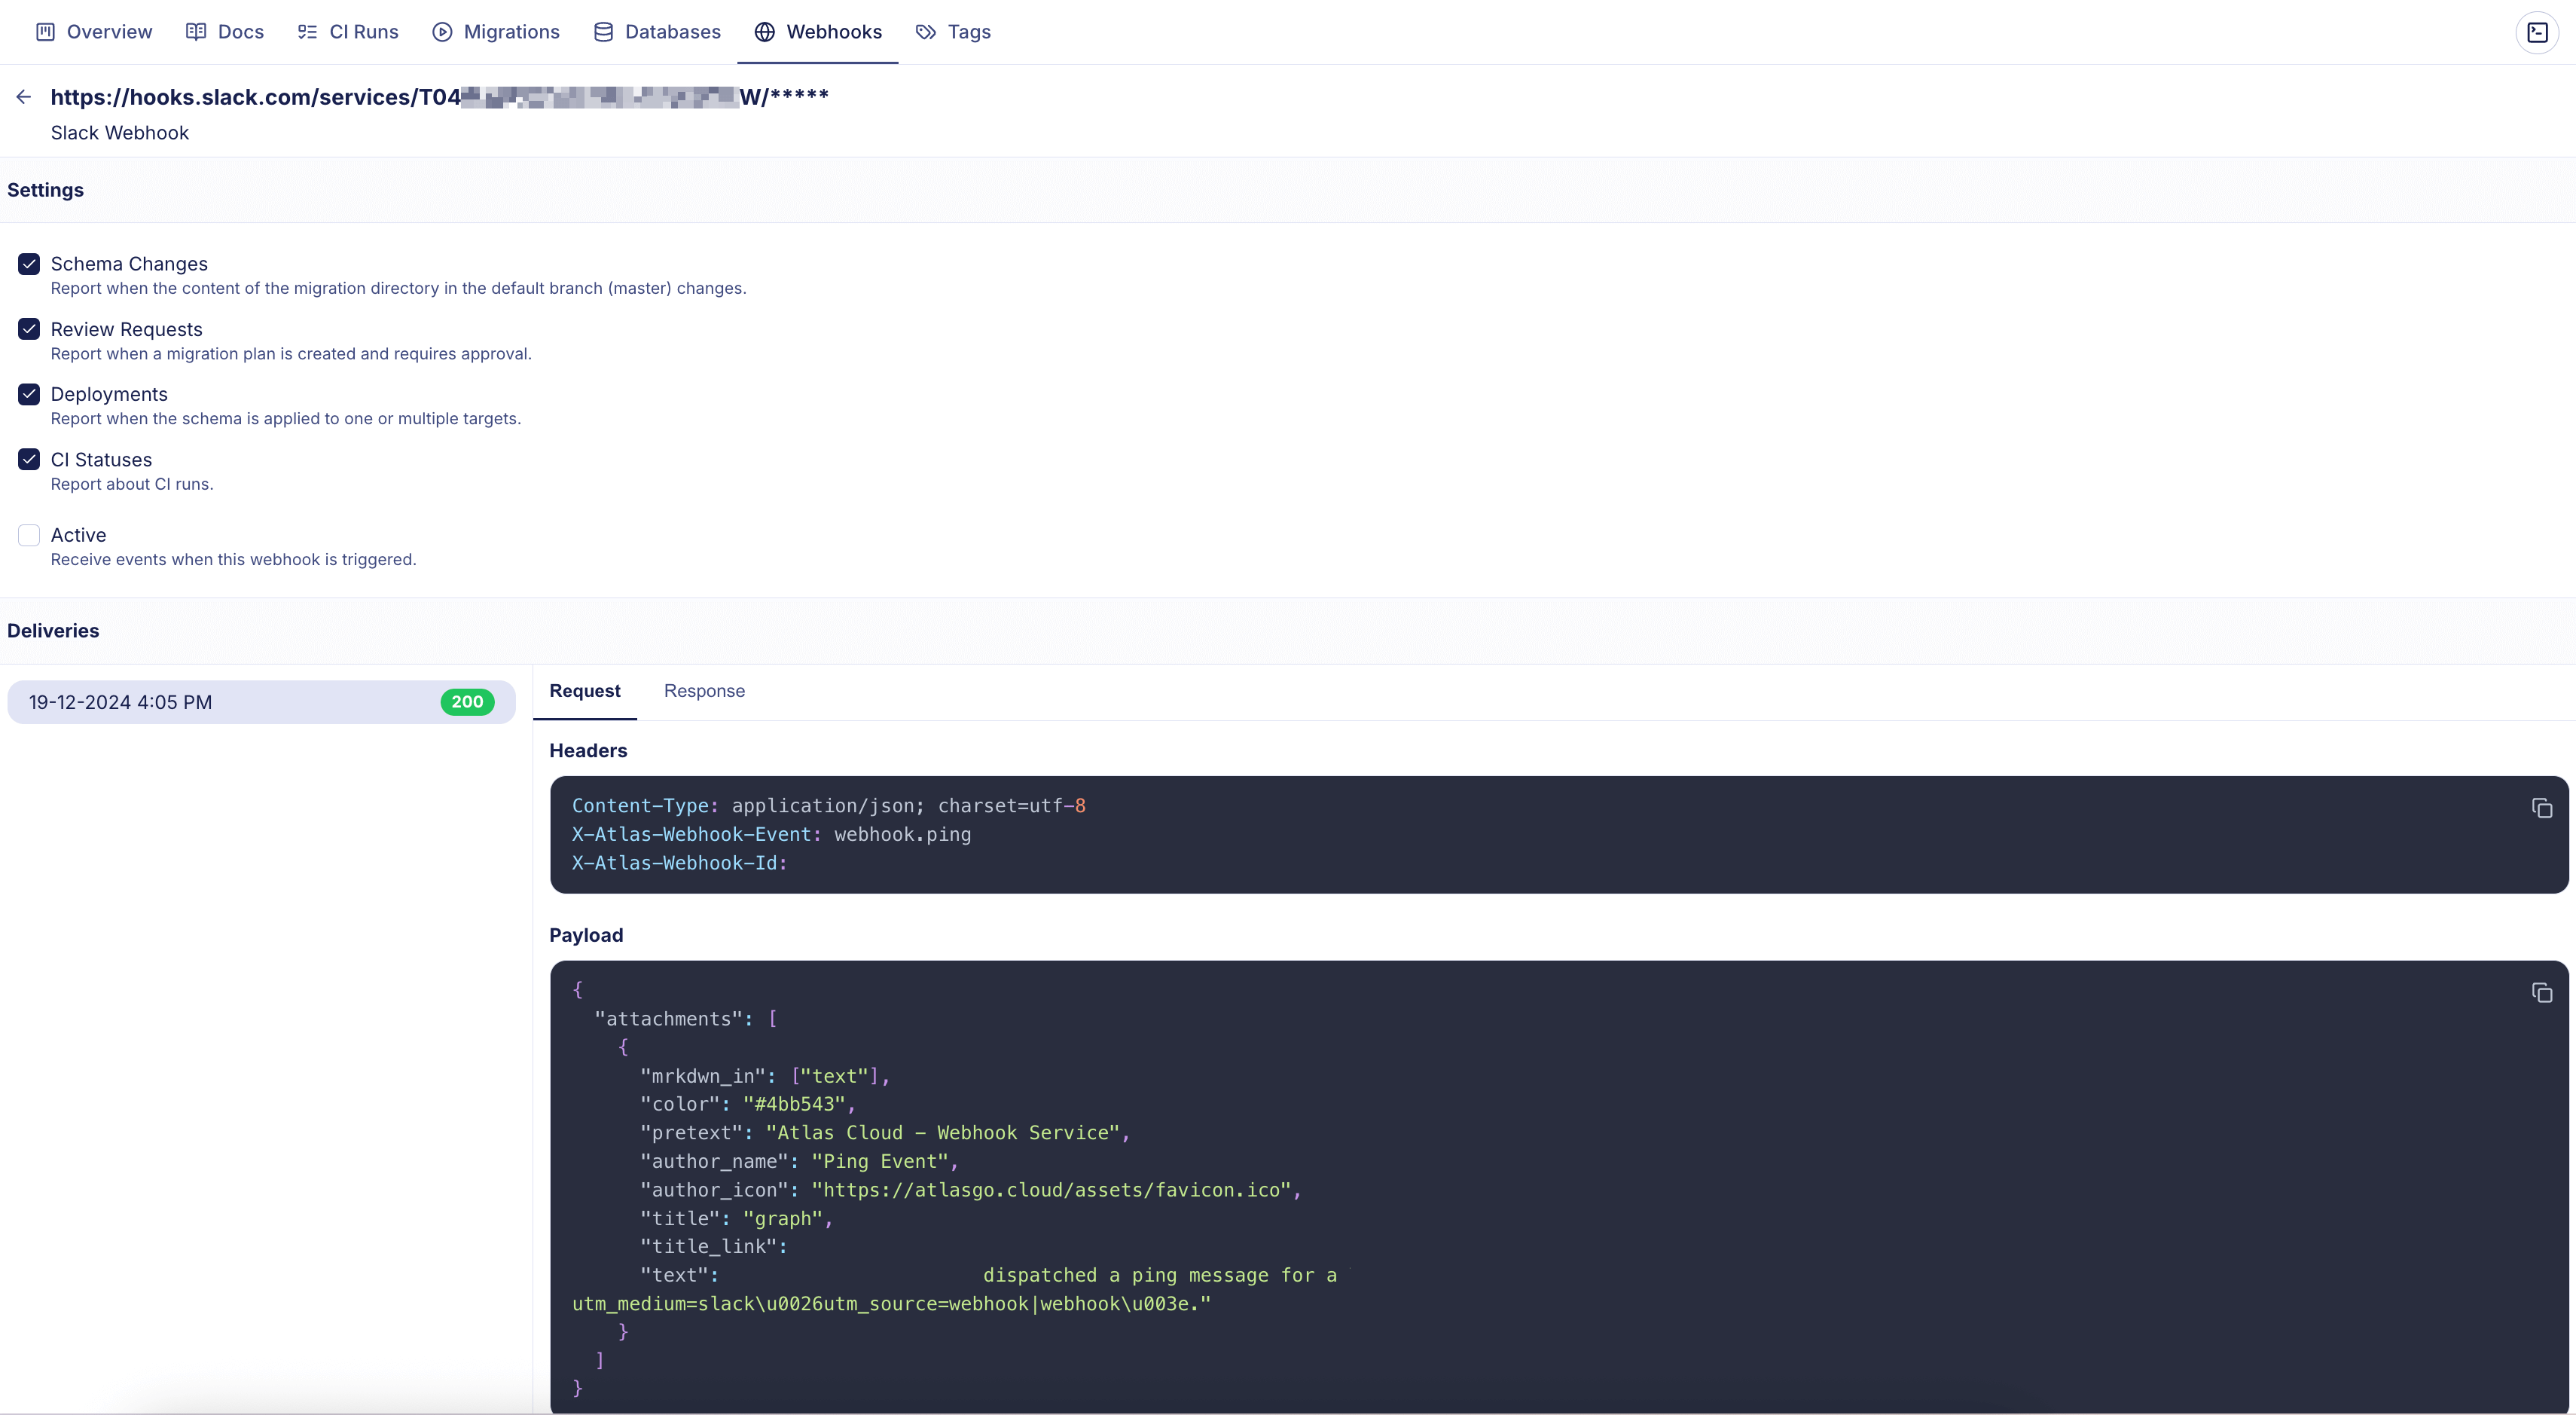
Once the Webhook is created, you will be redirected to the Webhooks page. Select a webhook to edit its configuration and to view its delivery history.
Screenshot example